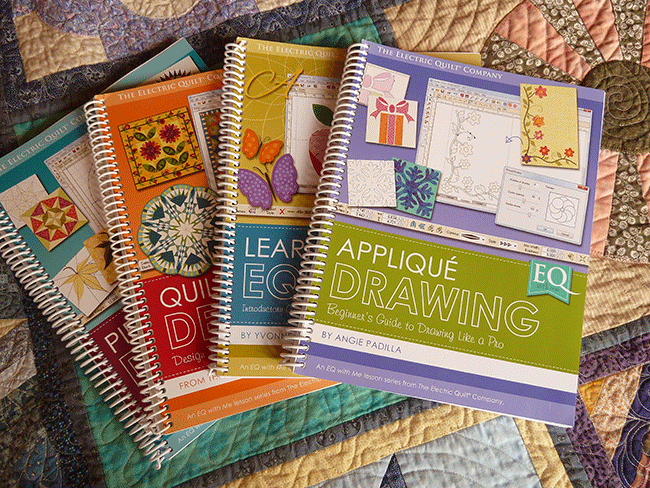
![]() Earlier this week I stopped by the post office to pick up a fun package sent by the Electric Quilt Company, with copies of my recently released book and a few other goodies. Love the larger format. LOVE the spiral binding! 🙂
Earlier this week I stopped by the post office to pick up a fun package sent by the Electric Quilt Company, with copies of my recently released book and a few other goodies. Love the larger format. LOVE the spiral binding! 🙂
I consider myself an advanced EQ7 user… after all, I did write one of the companion books, right? This software, however, while simple enough for beginners is what I call “power packed.” Meaning that there are so many features I doubt any one person has mastered them all. Leafing through these books was a good reminder for me, that as much as I think I know the program pretty well, there is always room to improve and continue learning.
Case in point: look at the very first page of EQ with Me: Quilt Design.

Ok, so I’m a sucker for flower quilts. So this grabbed my attention immediately, and as soon as I realized how it was constructed, I thought: “Now why haven’t I ever tried this before?” And the answer is because I tend to prefer drawing applique, so I don’t seem to pay much attention to all the design possibilities the software has to offer based on pieced blocks.
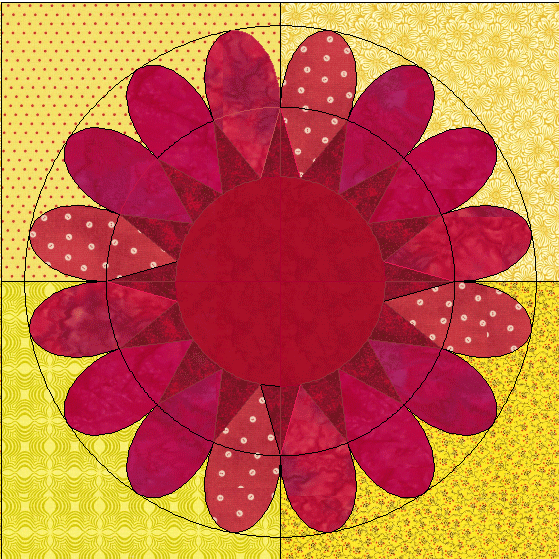
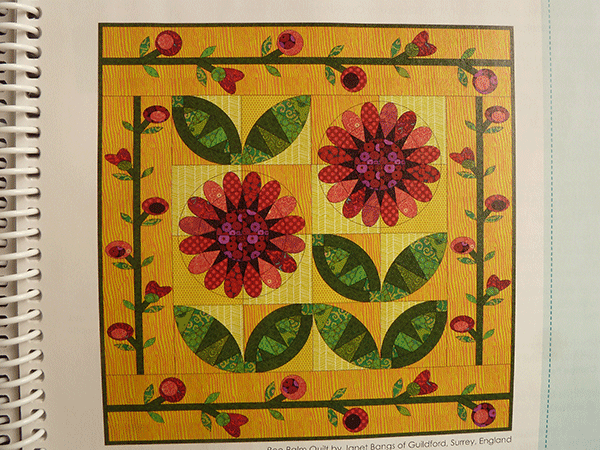
This is a good reminder to go back to the basics every now in then. This lesson is written by Janet Bangs, and she has named this particular design Bee Balm Quilt. In this design, the flower itself is from the EQ7 Library – 02 Contemporary Pieced>Fans>Leaf Fan.
As you can see, this is a quarter block, so you lay blocks down in your quilt layout and rotate them to form the complete flower block. Petals are divided in two pieces, so you would have to make sure to use the same fabric for each petal. And the same background fabric “behind” the top of each petal.
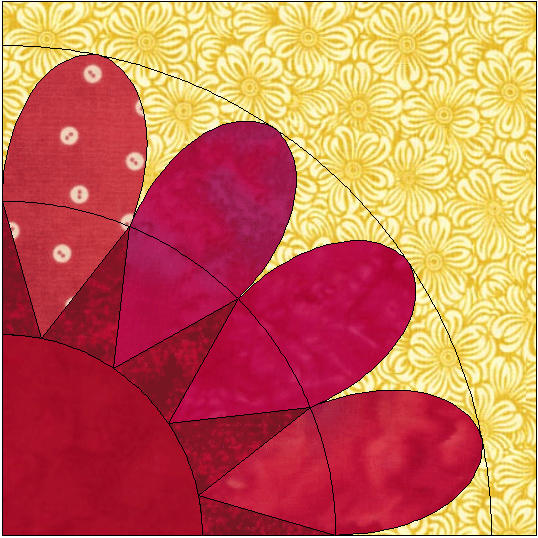
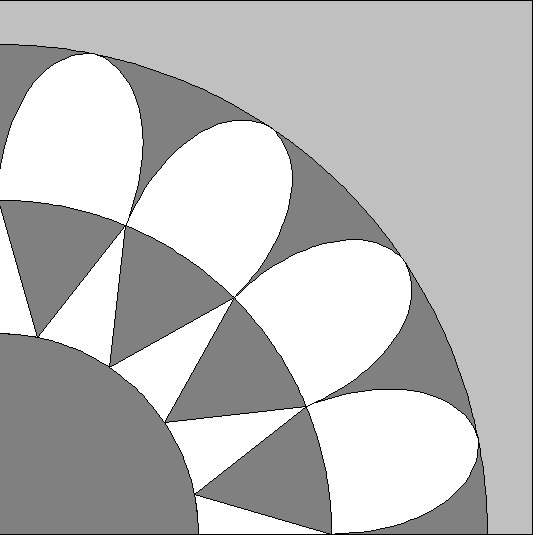
To piece it, you would work a quarter at a time, divided in four curved pieces:
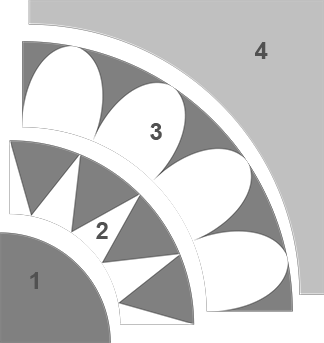
I actually do like to piece curves. To piece this block, I would be inclined to paper piece section 2, use templates for section 3, as well as for pieces 1 and 4. The curves between each section are gentle enough to be pieced, don’t you think? But there are two rather big challenges here. The first would be matching up the seams between each petal. And even more daunting would be piecing section 3. Just take a look at the templates!

Maybe for somebody who likes to piece curves –A LOT– this might seem like a piece of cake. Or maybe it’s just that my brain is hardwired for applique, because that just seems like a much better (easier) option to me for this block. Added to the fact I just don’t like to paper piece… how many times have you heard me say that one???
So I would cut and piece four background squares, then center and applique two circles. And I would then applique the petals – each petal would be one piece.

Let’s look at the leaves now. This was actually the exciting part for me… more than one “aha!” moment. 🙂
There are two types of leaves, based on two pieced blocks from the EQ7 Library>01 Classic Pieced>Orange Peels>Melon and 01 Classic Pieced>Pickles and Rings>Plain Wedding Ring.
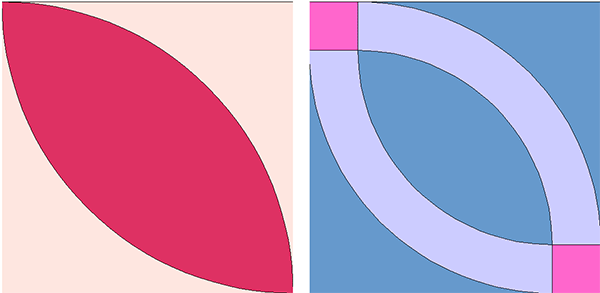
Basically, you play around with the Partition and Stagger features on the Easy Draw worktable, to come up with something like this:

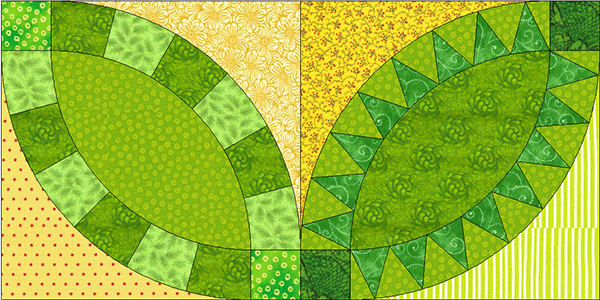
Brilliant, right? There’s just so much more movement than a simple leaf shape. So I start channeling my inner Wayne Kollinger…. what if? What if you use different blocks from the Pickles and Rings library?
Or what if you partition the melon shapes differently?
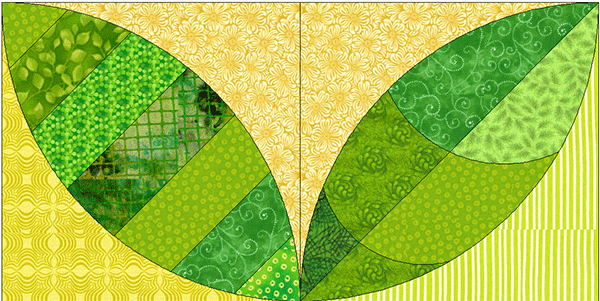
Let me tell you, you could spend a lot of time playing around this way… 🙂
Anyway… the whole point of this exercise was to remind me to be open to new learning. And if you, too, are an EQ junkie, working with any or all of the companion books is a good idea. I did finish this particular lesson, and actually disagreed with the way in which the border vines were constructed, but still found it interesting to see how another designer works. It doesn’t mean one way is better than another, just that what works for one person does not necessarily work for another, and there are different ways of doing things. Remember the saying… all paths lead to Rome…
So even though I worked through the entire lesson, step by step, I did make some changes for my final version. This mainly had to do with the borders. If you follow Janet’s instructions, you draw one border based on a 10 x 60 block. But in the final quilt, the side borders measure 9 x 36, and the top and bottom borders measure 9 x 54. I’m not sure what the reasoning behind this is. In any case, I always prefer to draw my borders (particularly with applique designs) the actual size, or in sizes that can be either divided or multiplied proportionally with relation to the actual finished size. So for the borders of this quilt I read through the instructions, and then did it my way. Kind of the way I cook, too. It’s really hard to follow a recipe. 🙂
In Janet’s version, the side borders look “squished” in comparison to the top and bottom borders:
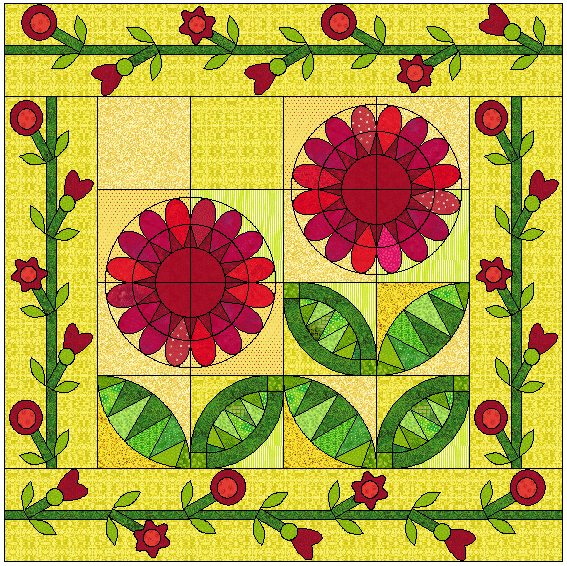
In my version, I took out two motifs from the side borders and kept the flowers the same size with respect to the top and bottom borders.

I also decided to add a third flower motif, just for fun. And I decided I didn’t really like the extra set of leaves above the short flower, so left them out.
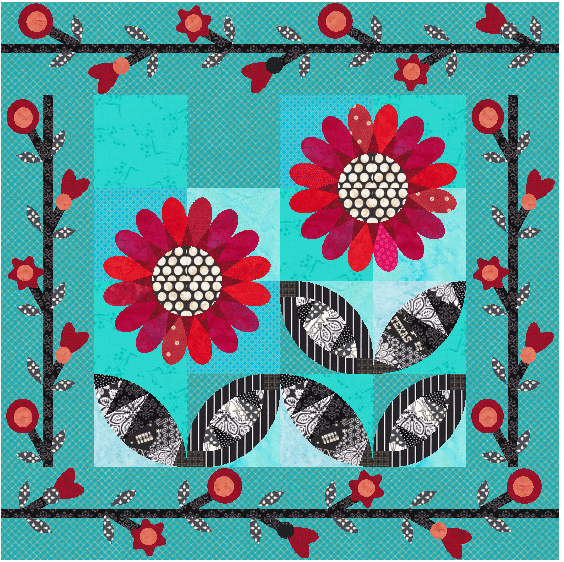
All in all, this is one cute little quilt. I’m really tempted to actually sew it. Hmmm… I wonder about a different colorway…. 🙂
 I am a self-learner. I taught myself to sew and to quilt. And I taught myself how to draw. I love to dye my own fabrics, am a fanatic of free-motion quilting, and dabble with mixed media. I am a quilt designer and teacher, and design and publish my own line of quilt patterns. With this blog I would like to share the bits and pieces of my life.

2 Comments
Nice designing lesson, Angie. I agree with you in the fact that appliquéd would be a more clean, easy way to get this design. I also prefer to eliminate the leaves over the short flower. But in color palette, I do prefer the yellow/red/green version.
Nice designing lesson, Angie. I agree with you in the fact that appliquéd would be a more clean, easy way to get this design. I also like it with the leaves over the short flower eliminated. But about the color palette, I do prefer the yellow/red/green version.
One Trackback
[…] « Aha! moments […]