Are you ready to take your quilting to the next level? In this blog post, we’ll explore the applique method using freezer paper. Although you can use this method to sew your applique design by hand or machine, in this post we will focus on hand applique. What is important to note is that with this technique you can achieve precise shapes, crisp edges, and endless possibilities for creativity. Let’s dive in and discover the endless possibilities this technique offers!
Unleashing the Power of Freezer Paper
Applique using freezer paper is a popular method among quilters due to its ease of use and precise results. The process involves using freezer paper, a unique material that has a shiny plastic-coated side and a matte paper side. This combination makes it perfect for creating applique templates that can be easily ironed onto fabric and removed without leaving any residue. The freezer paper acts as a stabilizer and gives you the freedom to create intricate shapes with ease.
What You’ll Need
Before we get into the step-by-step process, let’s gather the materials you’ll need for freezer paper applique:
- Freezer paper
- Fabric for applique shapes
- Scissors
- Pen or pencil
- Iron
- Starch (optional) or basting thread
- Needle and thread in the color of the applique shape
The Step-by-Step Process
Now that we have our materials ready, let’s dive into the step-by-step process of freezer paper applique:
 Step 1: Design and Trace
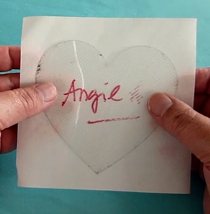
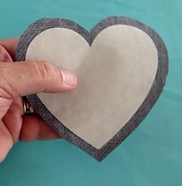
Start by designing or selecting your desired applique shape. If you’re a beginner, it’s best to begin with simple shapes like hearts, stars, or flowers. Once you have your design, trace it onto the paper side of the freezer paper. You can either draw the shape freehand or use a printed template as a guide. Note: if design you are using is asymmetrical you will need to reverse it before tracing it onto the freezer paper, to ensure that the final fabric shape is oriented in the correct direction.
Step 2: Cut Out the Template
Using a pair of sharp scissors, carefully cut out the shape along the traced lines. Take your time to ensure smooth and precise cuts. Remember, the template you create will be the exact shape of your applique, so accuracy is key.
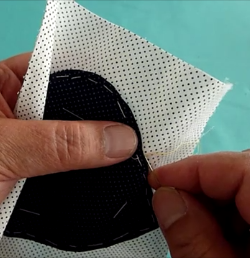
Step 3: Iron the Freezer Paper Template onto the Fabric
Place your chosen fabric for the applique shape on a flat surface, wrong side up. Position the freezer paper template, shiny plastic-coated side down, onto the backside of the fabric. Using a medium heat setting, iron the freezer paper template onto the fabric. The heat will temporarily adhere the plastic-coated side to the fabric, creating a precise cutting guide.
 Step 4: Cut the Fabric with a Seam Allowance
With the freezer paper template fused to the fabric, carefully cut around the shape, allowing a small seam allowance of about 1/8 to 1/4 inch. The freezer paper template will serve as a guide for your fabric cuts.
Step 5: Turn Under the Seam Allowance
To create a neat and finished edge, turn under the seam allowance of the fabric shape. There are two popular methods for accomplishing this:
- Starch Method: Apply starch to the seam allowance and press it with an iron to hold it in place. This method is quick and easy, providing a temporary hold while you stitch the shape onto the background fabric.
 Basting Stitch Method: Alternatively, you can baste the seam allowance in place using a temporary hand stitch. This method provides extra stability and allows for more precise control.
 Step 6: Position and Stitch
With your applique shape ready, position it on your background fabric, right side up. You can use pins or a temporary fabric adhesive to hold it in place. Now it’s time to secure the applique shape to the background fabric. Using needle and thread, stitch around the edges of the shape with an invisible stitch. (I demonstrate this stitch in the video below.)
 The Possibilities are Endless
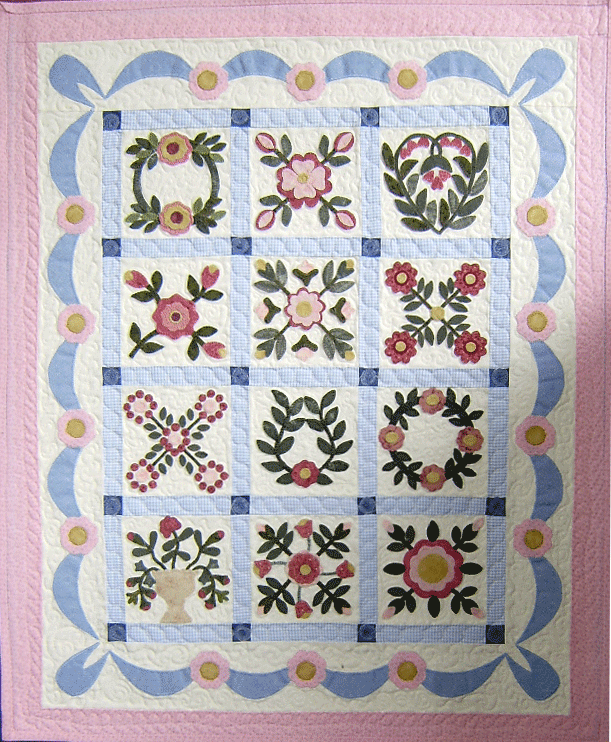
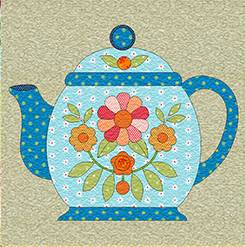
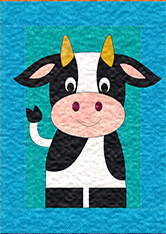
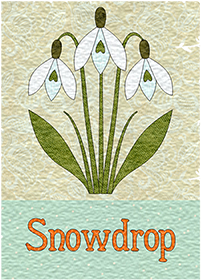
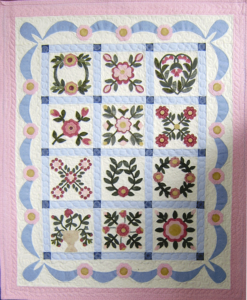
With freezer paper applique, the possibilities for creativity are truly endless. You can combine different fabric colors, textures, and patterns to create unique and stunning applique designs. Let your imagination run wild and experiment with various shapes, sizes, and placements on your quilts.
FAQ
Q: Can I reuse the freezer paper templates?
A: Yes, one of the advantages of using freezer paper is that the templates can be reused multiple times. Simply peel the template off the fabric after stitching, and it can be ironed onto a new piece of fabric for future applique shapes.
Q: Can I wash quilts with freezer paper applique?
A: Yes, quilts with freezer paper applique can be safely washed. It’s recommended to use a gentle cycle and mild detergent to preserve the integrity of the applique shapes.
Q: Can I use freezer paper applique for complex designs?
A: Absolutely! While freezer paper applique is ideal for simple shapes, it can also be used for more intricate designs. You can create complex applique shapes by combining multiple templates or using smaller, interconnected pieces.
Get Inspired and Start Creating!
Now that you have the knowledge and techniques for freezer paper applique, it’s time to unleash your creativity and start adding delightful designs to your quilts. Whether you’re a beginner or an experienced quilter, freezer paper applique offers a straightforward and enjoyable method for creating unique and eye-catching applique shapes.
Don’t forget to check out the video tutorial below for a hands-on demonstration of the freezer paper applique technique. If you have any questions or want to share your applique creations, feel free to leave a comment below. Happy quilting!
 I am a self-learner. I taught myself to sew and to quilt. And I taught myself how to draw. I love to dye my own fabrics, am a fanatic of free-motion quilting, and dabble with mixed media. I am a quilt designer and teacher, and design and publish my own line of quilt patterns. With this blog I would like to share the bits and pieces of my life.