 My grand *babies* Julian and Alexia arrived late Sunday evening. They will be living here with their dad (my oldest son Jono), going to a local school for the next year. I am always delighted to have them here. 🙂
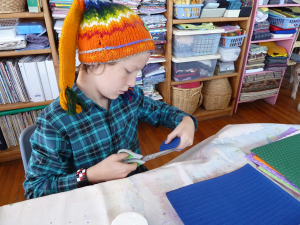
Until school starts in a couple of weeks we have planned a lot of crafty time together. So earlier in the week Julian and I decided to do a little fabric stamping. And we thought we’d share a little of that process. This is an easy and really economical way to create your own fabrics! (Click on any picture for a larger view)
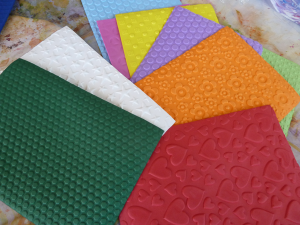
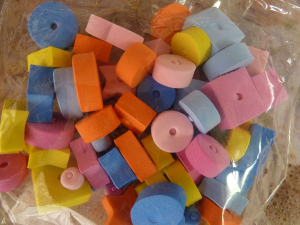
For this technique we used craft foam. We found some with designs on them and we also purchased some plain ones to cut out our own designs.
We cut up pieces of packing Styrofoam to glue our craft foam onto, but you can use any material you like, such as blocks of wood. It just needs to be thick enough to be able to handle with ease. We cut our craft foam to fit the pieces of Styrofoam.
In our case, the patterned craft foam did not have an adhesive backing, so we hot glued our pieces to the pieces of Styrofoam.
The plain craft foam does come with an adhesive back, so we just cut our pattern and adhered it to a piece of Styrofoam.
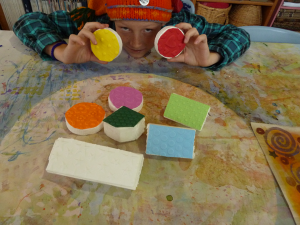
We also found small shapes of craft foam. In this case they were thick enough to be able to use without the Styrofoam base.
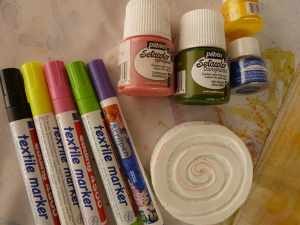
To stamp the designs you can choose to use fabric paints, markers, or inks.
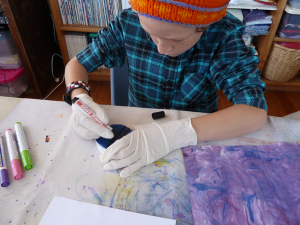
We chose to work on two pieces. The first was a piece Julian had dyed last summer, using the shaving cream method. First he colored a stamp with a black textile marker.
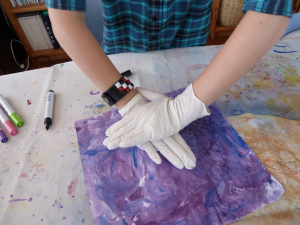
Pressing the stamp on the background fabric…
And the result:
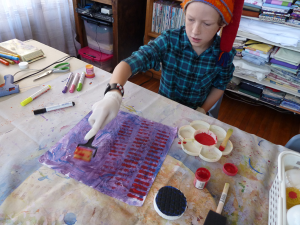
Julian also decided to add some red with a textured sponge roller.
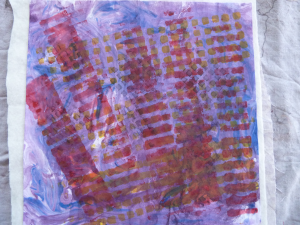
And a little more stamping with yellow, to achieve this final result:
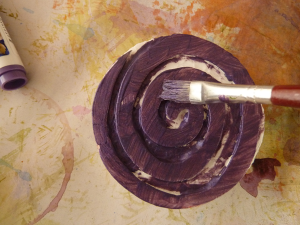
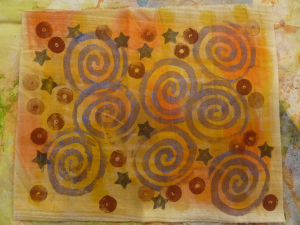
For the second piece we worked with our own spiral design and textile paint. You can use a regular paintbrush or a foam brush to apply the paint. We worked with a small piece I had previously colored with Caran D’Ache crayons.
We also used some of the small craft foam shapes. And here is our final piece:
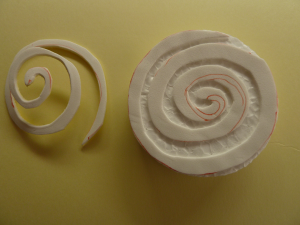
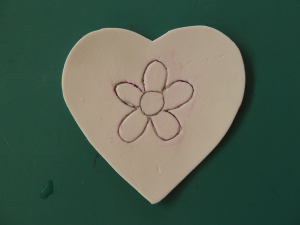
One of the other things we discovered we could do was include additional designs within our shape. Simply cut out the shape you would like and take a pencil with a blunt point to draw the additional design(s). Just press down hard enough while drawing to leave a deep impression in the craft foam.
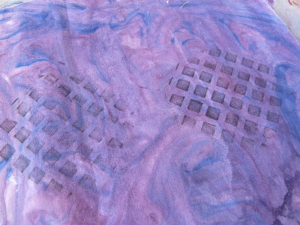
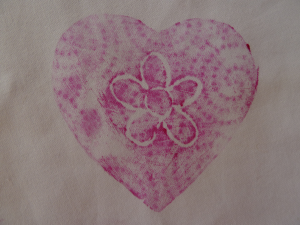
And a moment of serendipity… I had placed our sample piece of fabric on top of a textured paper towel. So in addition to the stamped design, we ended up with the texture from the paper towel on our piece. Pretty cool!
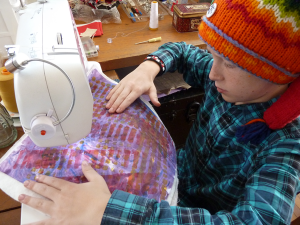
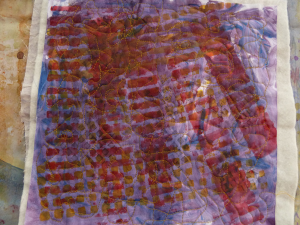
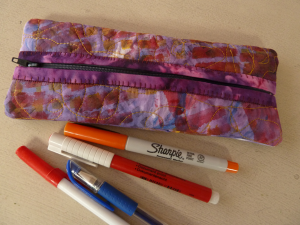
We decided to use Julian’s piece for a new pencil case. This was his first experience with free motion quilting!
Julian is fearless when it comes to using the sewing machine. I think he did a super good job, don’t you?
And the finished pencil case!
We hope our experimenting gives you some ideas of what you, too, could do!
 I am a self-learner. I taught myself to sew and to quilt. And I taught myself how to draw. I am learning how to dye my own fabrics and am dabbling with mixed media. I am a quilt designer and teacher, and design and publish my own line of quilt patterns. With this blog I would like to share the bits and pieces of my life.
One Comment
Hi Angie,
just found these news on your blog! Oh, what a nice result! Grandchildren just love to do crafts with their grandparents. Luca (my youngest one) also loves to do “encaustic paint” with his grandma! Got some nice paintings at home! Did you get my e-mail of 14 September? Love to all of you, Leni :-))