 I bought a serger at the same time I purchased my latest sewing machine. I’ve used it off and on, mainly to make pencil cases and a couple of bags. I’ve loved using it for these few items, but –admittedly– it’s been underused. So this week I decided to really delve into all its possibilities.
Some time back I had signed up for two serger sewing classes on Craftsy, so this was the time to actually sit down and take them. And, yes, these are sewing and not quilting classes, but bear with me… some of this learning actually applies to quilting!
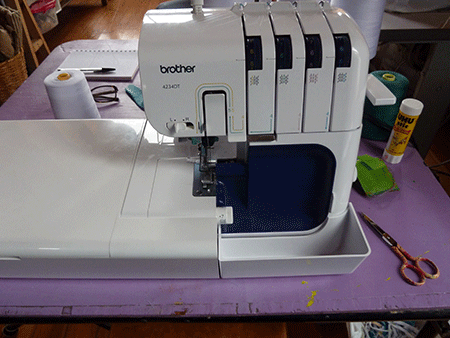
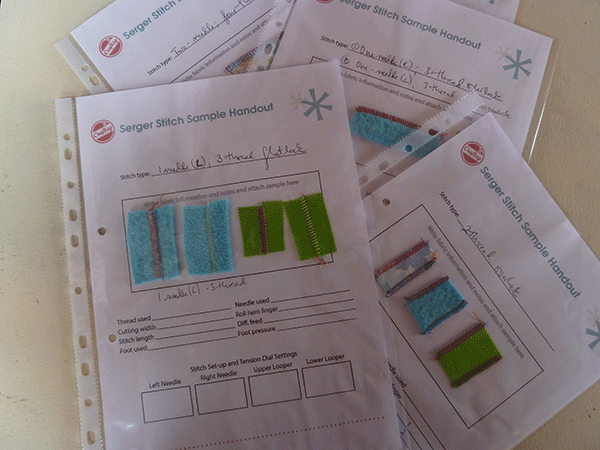 I pulled out my manual and set up my computer next to the serger, and started working through the Beginner Serging lessons, taught by Amy Alan. Once again, a great instructor and great close-ups. Although my serger is different than hers, Amy does a really good job of showing the parts and basic functions on 3 different sergers, so it was easy to follow along on my own serger. And, of course, I had to put together a Stitch Bible for this machine, too!
Beyond the basics, this particular class is obviously geared toward garment making. So I wasn’t interested in making any of the projects: an exposed zipper bag, a ruffled apron, and a knit scarf. The most helpful aspect of this class was certainly taking note of the different stitches, jotting down the tensions for each one, and sewing samples to include in the stitch folder.The zipper bag is one I have actually made myself many times. I did learn something new, however, and that had to do with attaching a zipper using the serger. I think I will be doing a lot more of that in future.
 So, instead of the projects taught in the class, I practiced making a slew of shopping bags with PET recycled fabric. They turned out perfectly! And, best of all, they sewed up so much faster than had I made them on the sewing machine. That makes me happy! 🙂
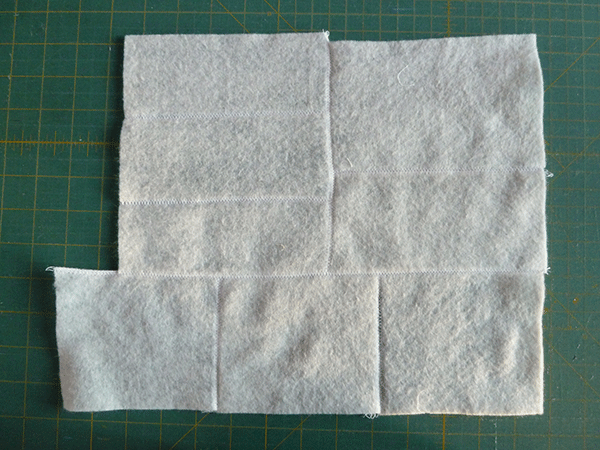
My most important learning in this class, however, in how it applies to quilting… was the flat-lock. Because I am so very frugal when it comes to materials, I pretty much don’t throw anything out. Even tiny scraps and trimmings make their way into fabric collage, or beads, or… 🙂 Learning to flat lock is going to be so helpful in joining all those leftover bits of batting to make bigger pieces.

I also see the possibilities when it comes to leftovers from trimming quilted pieces. Seems like such a waste to throw out pieces with lovely quilting on them. Take the round place mats I made a few days back. Remember?

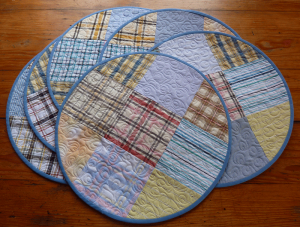
 I basically had all those quilted squares from which I cut out circles, and that left all these quilted corners that easily could have ended up in the trash bin. I kept them all, and now found the occasion to turn them into this, thanks to the flat-lock! Yay! A whole new place mat!
I then remember seeing a segment on The Quilt Show involving the use of a serger for piecing. So I ran over to take a look, and sure enough! In one of the shows, Connie Fanders, director of education and training for Bernina USA, demonstrates how to piece a quilt top using a serger. Of course I had to try it.
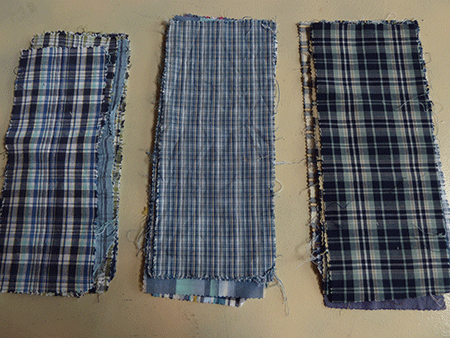 I still have a whole bunch of cotton shirt fabric samples given to me by a friend, which have ended up in more than one of my Rectangle Fun quilts. Because the samples vary in width, a lot of time goes into trimming them to then join the different strips.
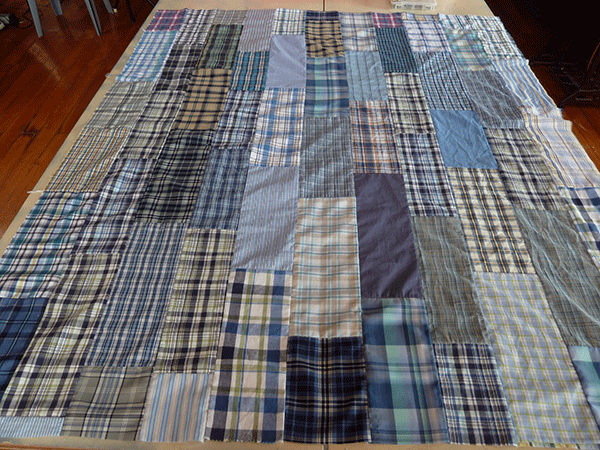 Not this time, though! I just ran them all through the serger… and voilá! Want to know how long it took me to piece this top? A little under an hour! And yes, that was for the whole process from beginning to end, including selecting what fabrics to include. Wow! Bear in mind, however, that although it was wonderful in this case, sewing with a serger would not work for precision piecing, because you aren’t able to ensure that consistent 1/4″ seam. But for a project like this one, it certainly works.
 I also took the Craftsy Creative Serging: Beyond the Basics Class class, taught by Angela Wolf. This is a more advanced class, and is clearly geared toward garment sewing. If what you are looking for is the basics, particularly in how you could benefit from using the serger for quilting, take Amy’s class. If you do like to sew clothes, then by all means take Angela’s class. Just beware that for this class it is assumed you know all the basics. She does not discuss the minutia of different stiches, tensions, etc., but covers things like piping, gathering, inserting zippers in clothing, inserting elastic, and decorative stitching incorporated into garments. I did enjoy the class, particularly because she actually works on the same serger I own! 🙂
So glad I spent the time doing this. I can see I will definitely be using my serger more and more, and am really glad I invested in it.

 I am a self-learner. I taught myself to sew and to quilt. And I taught myself how to draw. I love to dye my own fabrics, am a fanatic of free-motion quilting, and dabble with mixed media. I am a quilt designer and teacher, and design and publish my own line of quilt patterns. With this blog I would like to share the bits and pieces of my life.

3 Comments
Thank you for this article, I have had a serger for several years and have not used it more than an hour. Your article has peeked new interest and I think I’ll start all over this the Crafter lessons. Thank you again.
I agree I was n ot interested in garment making but I did learn heaps on how to use my serger [overlocker in Oz] and now its not gathering dust well worth the investment oh I waited till craftsy has a sale ……..so I felt I was not wasting so much money!!!!!!
If you find other interesting ways to use a serger in quiltmaking… let us know!